How to Extend the Lifespan of the Printhead on Your HP Printer

How to Extend the Lifespan of the Printhead on Your HP Printer
Proper maintenance of your HP printer’s printhead is key to achieving high print quality and avoiding unnecessary expenses. With the right steps, you can significantly extend its lifespan and keep your printer in top condition. In today’s article, the PrintKing team has gathered all the useful tips for cleaning, prevention, and proper use of the printhead on your HP printer.
What Is an HP Printhead and Why Does It Wear Out Early?
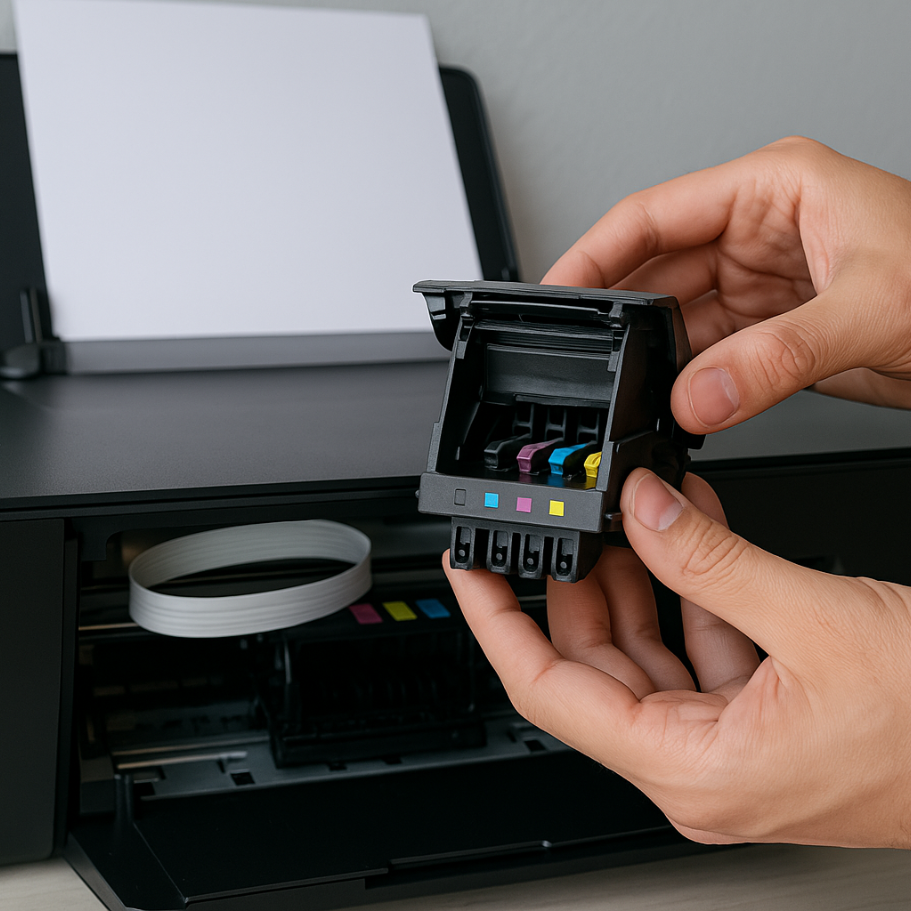
The printhead is the most important component of an HP inkjet printer. It sprays ink onto the paper to form images or text. Depending on the model, the printhead may be built into the printer or integrated into the ink cartridge.
Common causes of printhead wear include:
-
Ink drying inside the printhead
-
Clogged nozzles due to dust or debris
-
Use of low-quality or incompatible ink cartridges
-
Infrequent printer use
PrintKing Tip #1: Regular Printhead Cleaning
Cleaning the printhead is essential to avoid clogged nozzles and poor print quality.
Automatic Cleaning (via HP software):
-
Open the “HP Smart” app or the printer software
-
Select “Printer Maintenance” > “Printhead Cleaning”
-
Follow the on-screen instructions and check the test print
Manual Cleaning (if automatic cleaning fails):
-
Remove the ink cartridge
-
Use a cotton swab soaked in 90%+ isopropyl alcohol
-
Gently clean the nozzles and electrical contacts
-
Let it dry for 10 minutes before reinstalling
PrintKing Tip #2: Use Quality Ink and Paper
Ink quality plays a crucial role in the printhead’s lifespan. Use:
-
Certified compatible or original HP inks
-
High-quality printing paper with a smooth surface
Cheap ink or fibrous paper can clog nozzles and accelerate printhead wear.
PrintKing Tip #3: Protect During Periods of Inactivity
If you don’t use your printer often, the printhead can dry out and become blocked.
What you can do:
-
Print at least one page every 5–7 days
-
Store the printer in a dust-free, dry place
-
Do not leave the printer without cartridges for an extended period
PrintKing Tip #4: Adjust Print Settings
Some settings affect the usage and preservation of the printhead.
Recommendations:
-
Use “Normal” or “High Quality” settings for demanding prints
-
Avoid “Draft” mode for important documents, as reduced ink flow can dry out the printhead
-
Enable “Ink Saver” mode (where available) for casual prints
PrintKing Tip #5: Maintain a Clean Operating Environment
Dust and particles can accumulate around the printhead and cause blockages.
What to do:
-
Place your printer away from windows or air drafts
-
Use dust covers when the printer is not in use
-
Regularly clean the printer’s interior with a dry, lint-free cloth
PrintKing Tip #6: When to Replace or Recalibrate the Printhead
Signs that your printhead may need cleaning or replacement:
-
Streaks or lines in printouts
-
Uneven colors
-
Repeated error messages
Options:
-
Use a cleaning kit
-
Contact technical support for assessment
-
Replace the printhead with an original or compatible part from our e-shop
PrintKing Tip #7: Deep Printhead Cleaning
If basic cleaning methods don’t work, try deep cleaning:
Instructions:
-
Remove the printhead from the printer (refer to the manual)
-
Place it in a shallow container with pure isopropyl printhead cleaning solution (not water)
-
Let it soak for 2–4 hours or overnight to loosen dried ink
-
Rinse carefully and wipe with a lint-free cloth
-
Reinstall and run a test print
Frequently Asked Questions
How often should I clean the printhead?
Every 1–2 months if used regularly, or as soon as you notice print quality decline.
What type of cleaner should I use?
Use isopropyl alcohol >90% or specialized printhead cleaning fluids.
Can I use plain water for cleaning?
No, water leaves mineral residues and doesn't remove dried ink. Always use a proper product.
Do cartridges clean the printhead automatically?
Most do not. Some models have built-in cleaning features, but these don’t replace regular manual cleaning.
Proper care of your HP printer’s printhead not only improves print quality but also reduces long-term maintenance costs. By cleaning the printhead regularly, you keep your device in excellent condition and avoid costly replacements.
At PrintKing, you’ll find replacement printheads and specialized products for HP printers – all with free technical support.
Visit our e-shop now and equip your printer with the right products to keep it working like new!


